Cybertron.CA - Canadian Transformers News and Discussion
Go Back   Cybertron.CA - Canadian Transformers News and Discussion > Transformers Discussion > Transformers Customs and Artwork

Reply
 
Thread Tools
Old 08-03-2013, 10:30 AM   #1
chans formers
raff ow roud
chans formers's Avatar
Join Date: Mar 2008
Location: calgary alberta
Posts: 7,289
simple fixes and reinforcements

just a quickie tutorial as promised to another member after chatting with him at tfcon this year.
if you ever have really tiny/thin parts snap on you or have balljoints break,this is the way i go about repairing and reinforcing them.
(if you guys have your own simple fixes too,feel free to add on to here.)

first example is actually my little girls favorite ariel necklace.i can't count how many times i've fixed it from the head being twisted off to the brace the necklace actually clips onto to cleaning and resoldering the inner electronics,etc,but that's another rant about her now knowing that "daddy will fix it".

her cousin went and snapped this thing right off at the waist one day which resulted in alot of tears.the waist itself is just slightly bigger than 1/8" diameter,maybe 9/64" or 5/32.
the screws and pins pictured in here are all gutted from junker toys bought in bags from valuevillage and/or previous customs.

this is what she looked like after max got to it.


in the highlighted areas,i've gone and drilled a 5/64" hole into both halves(same diameter as the steel pin i'm going to use),keeping sure to make it all stays inline with the center of the torn spots.


once done,with a pair of pliers,i put a drop of loctite496(i swear by this glue and this glue only)on one end of the steel pin and shove it in only half way.
the yellow highlighting shows the actual length of the pin and how far it's actually buried into the lower half.


the teal highlighting shows how far the steel pin is now drilled and screwed into the bottom half while the yellow highlighting shows the remaining half still protruding which will now get a drop of glue and then be shoved into the upper half of the body(giggity).


once done,this is now the strongest part of the whole fig being as it now literally has a steel spine.the red square shows the hairline gap still showing but that can now confidently be covered with some skintone colored paint.


taaa-daaah....happy wee one
__________________
now open for commissions...big and small...minor and heavy,you dream it,i make it.
chans formers is offline   Reply With Quote
Old 08-03-2013, 10:31 AM   #2
chans formers
raff ow roud
chans formers's Avatar
Join Date: Mar 2008
Location: calgary alberta
Posts: 7,289
Re: simple fixes and reinforcements

this is how to fix a swivel joint(not for ratcheting joints unless you know what you're doing as most ratcheting joints involve springs/tensioners of some sort,more complex)

first off,thanks to fellow member stepper for giving me a smoking deal on this guy and being fully honest on what the issue was.
this poor quint had his inner elbow joint's shaft sheared right off but luckily it was a clean break.


the easiest way to fix this and still keep the articulation was to=
drill a 1/16" hole through both halves while holding them together the way they should be.
then i came back with a 3/32" drill bit and only drilled/enlarged the hole in the actual forearm piece.this will allow the outer elbow chunk to move freely around the screw while the screw is nice and snug into the inner elbow chunk.


once both pieces were drilled,then came screw selection.if you notice,the black screw is slightly longer than the thickness of both elbow halves put together.this you don't want as when it's all assembled,some of the black screws tip will stick out and look fugly.the silver screw is ever so slightly shorter than the two halves put together,this is the one you want.
(the highlight on the black screw shows how much would have stuck out on the inside of the elbow once done)


this shot shows exactly where inside the elbow joint that the silver screws tip ends up when you bottom it out.


once reassembled with the right length screw,you now see a screw head on the outside of the elbow joint.this can be rectified with some red paint,making sure to match the same paint/spot on his other still good elbow outside.(i didn't do this step yet but i will later on)
if you don't like the look of this and want to try to hide the screw even more,you can always countersink where the screw head sits,just keep in mind that once countersunk,you'll want to use a shorter screw or you'll end up with the same problem the black screw would have had in the screw end sticking out the other side.


when screwing in the screw,you want it just snug,don't over tighten it as it won't be able to move,vice versa,not tight enough and it'll be floppy.
once you're happy with it,flip it over and put a drop of glue into the screw hole(not the side with the head),thereby fusing the screw tip into the hole so it doesn't ever back out as you position/pose him.

just showing that it is now fixed and can still move the way the designers intended it to.


and back with his cohorts that made the trip from toronto to calgary with him.
__________________
now open for commissions...big and small...minor and heavy,you dream it,i make it.

Last edited by chans formers; 08-03-2013 at 10:54 AM.
chans formers is offline   Reply With Quote
Old 08-03-2013, 10:31 AM   #3
chans formers
raff ow roud
chans formers's Avatar
Join Date: Mar 2008
Location: calgary alberta
Posts: 7,289
Re: simple fixes and reinforcements

how many of you have a beastwars bot where the arm has snapped off leaving the ball of the ball joint in the cup itself and a broken arm in your hand?
if you can manage to dig out the ball,this is how i usually fix them for locals.

i'm using a struxx ball joint and a funny looking struxx clip as an example so just imagine the triple balled piece being the ball of the joint itself once you manage to dig it out of the cup,and the other chunk as the arm that broke from said balljoint.
the steel pin used here is another valuevillage donor toy special.
notice how also the drill bit used is the same diameter as the steel pin.the pin size required is all dependant on the diameter of the arm/leg/etc that you're trying to fix.
you want to keep in mind that no matter what,the pin should be centered within both pieces and still maintain enough "meat "around it to grab it.
i dread the day max snaps the arms off of ariel above as i think those pins will end up being cut down sewing needles.


first off,drill a hole that matches the diameter of your pin into the arm/shaft chunk,keeping it straight and inline with an imaginary level line.the red highlights the imaginary centered straight line on this chunk.


once done,repeat to the actual ball of the balljoint.the red line shows how much per side of the pin will insert into each chunk.


to insert the steel pin,i like to grab the pin with a pair of needlenose pliers,and set the pin half way into the jaws.this will ensure that once you start inserting it,the pliers themselves will stop you once it gets exactly half way in.(a good trick because once you have glue on the end and you start sliding it in,you don't have much time before the glue sets and it's a mofo to try to remove and reinsert it the second time.)


once it's in,you should still have half of the pin exposed.


put a drop of glue on the remainder of the pin and shove it into the ball of the joint into the hole you drilled.
now everything else besides where the pin is will break before this repair does.(the red shows where inside the piece the pin actually now sits end to end.)
__________________
now open for commissions...big and small...minor and heavy,you dream it,i make it.

Last edited by chans formers; 08-03-2013 at 11:14 AM.
chans formers is offline   Reply With Quote
Old 08-03-2013, 12:08 PM   #4
zuffyprime
Fortress Maximus
zuffyprime's Avatar
Join Date: Apr 2007
Location: Toronto/Miss/Brampton
Posts: 5,445
Re: simple fixes and reinforcements

i heart you chans!
__________________
I'm Buying: G1 Boxes/Inserts
I'm Buying: G1 MIB KOs
If you have any for sale, please let me know, thanks
zuffyprime is offline   Reply With Quote
Old 08-06-2013, 02:22 PM   #5
chans formers
raff ow roud
chans formers's Avatar
Join Date: Mar 2008
Location: calgary alberta
Posts: 7,289
more simple fixes

^i heart u too cj

here's another simple 5-10 minute fix.
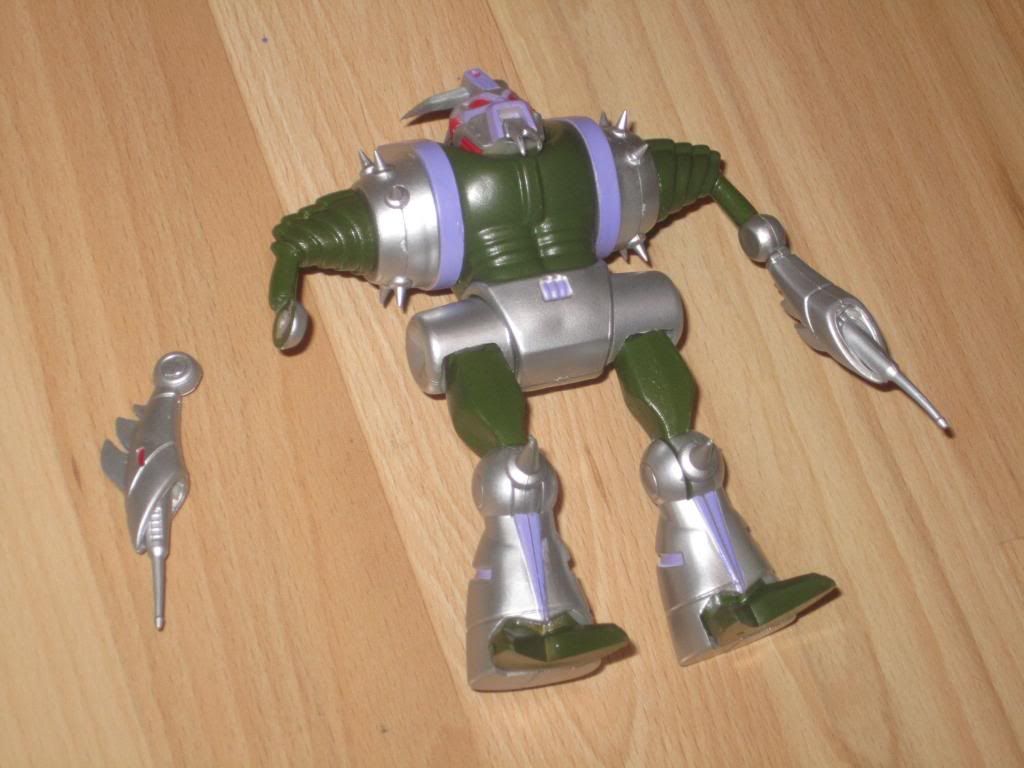
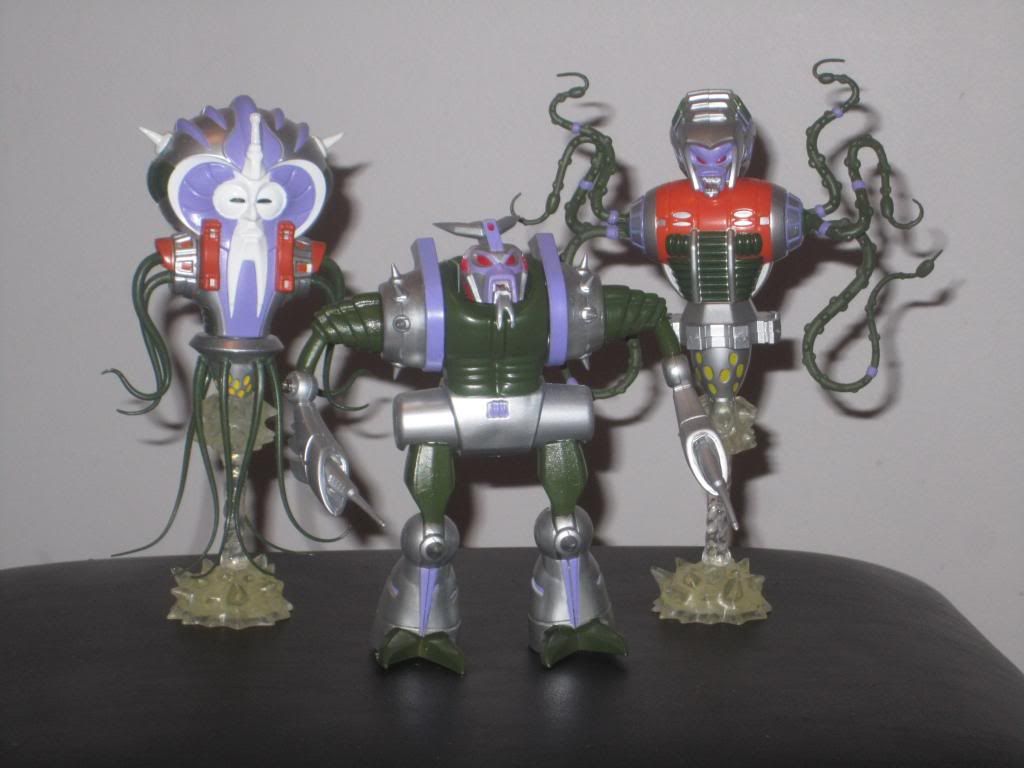
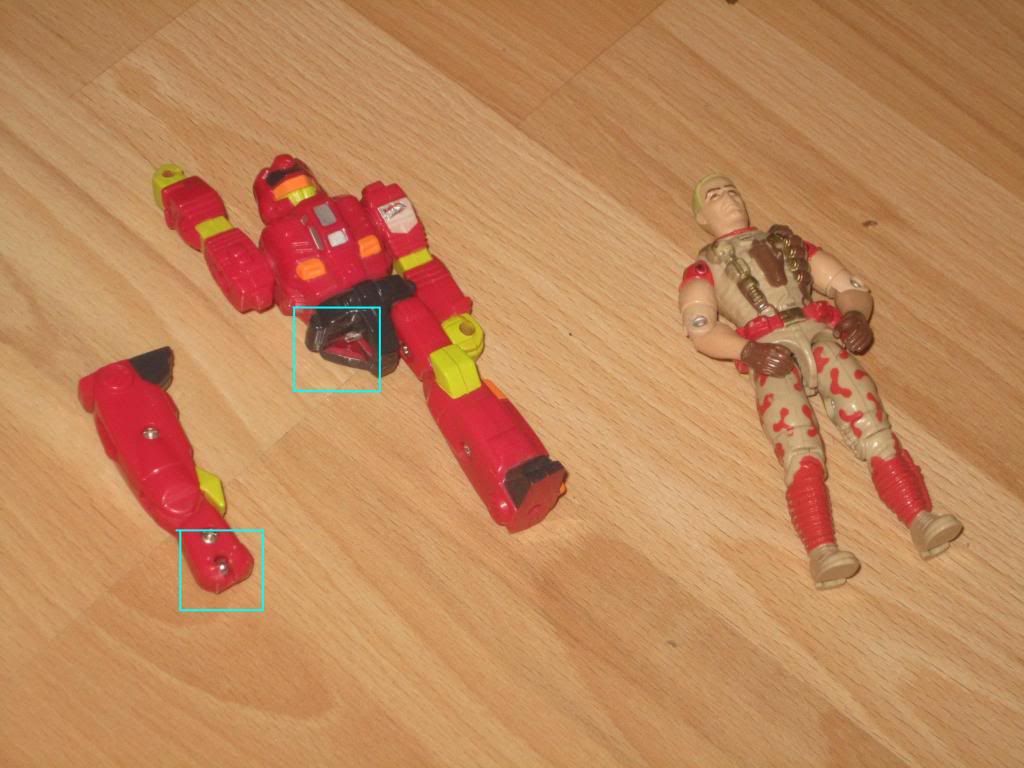
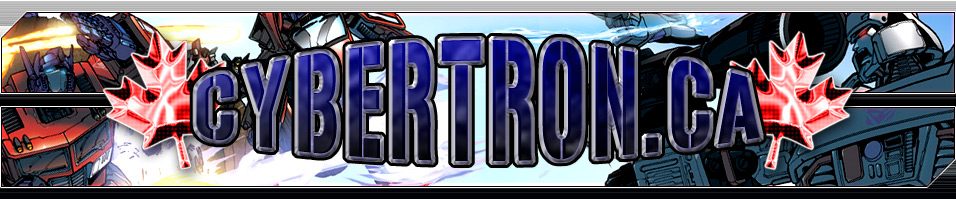
i found this guy in a tub at tfcon this year,snapped off leg but the paint is in waaaaay better shape than my original g1 actionmaster overrun.
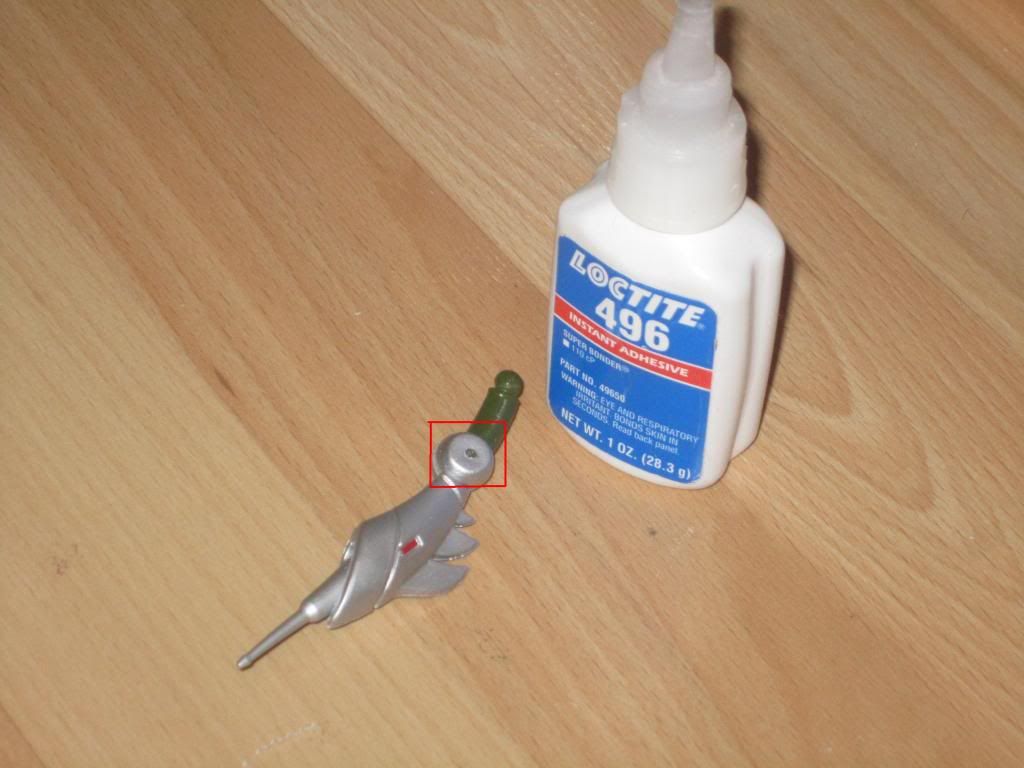
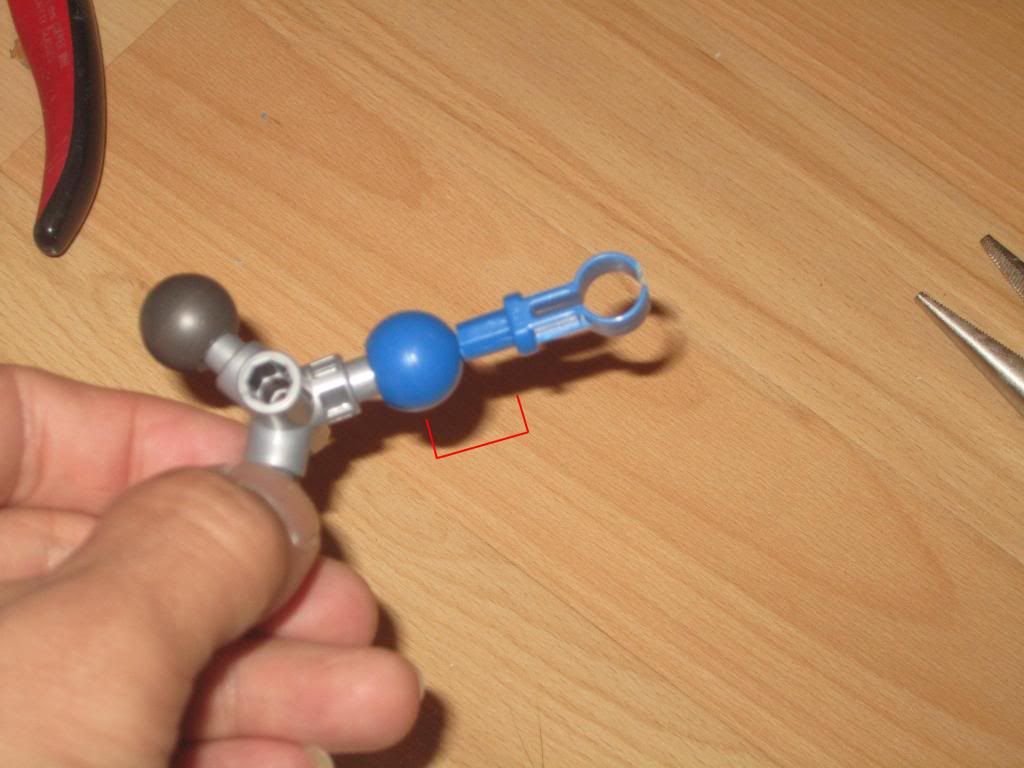
i've never seen one have his steel crotch t-bar snap off right at the balljoint but if you have one that died like this too,this is how you do a quick and easy fix on him.
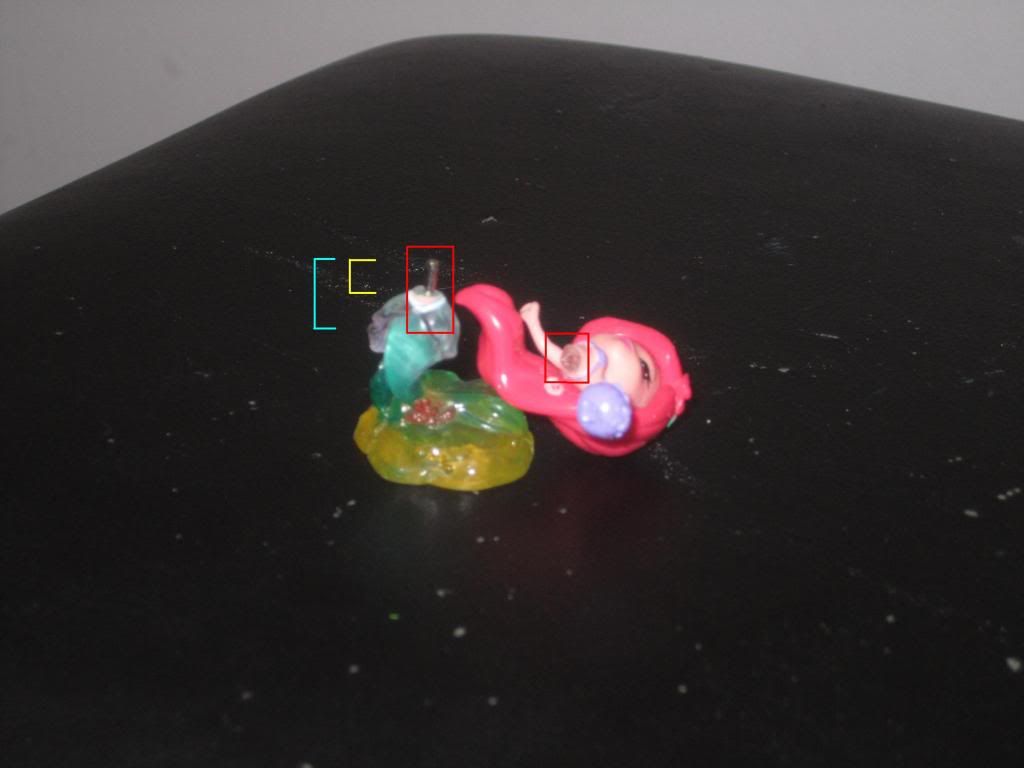
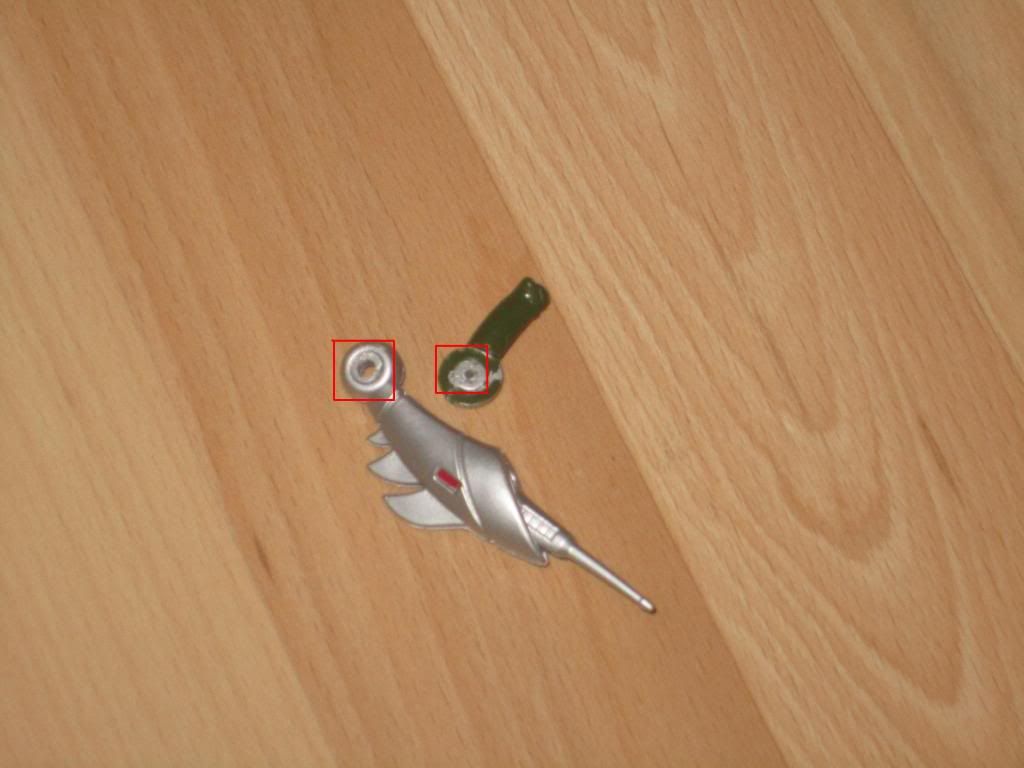
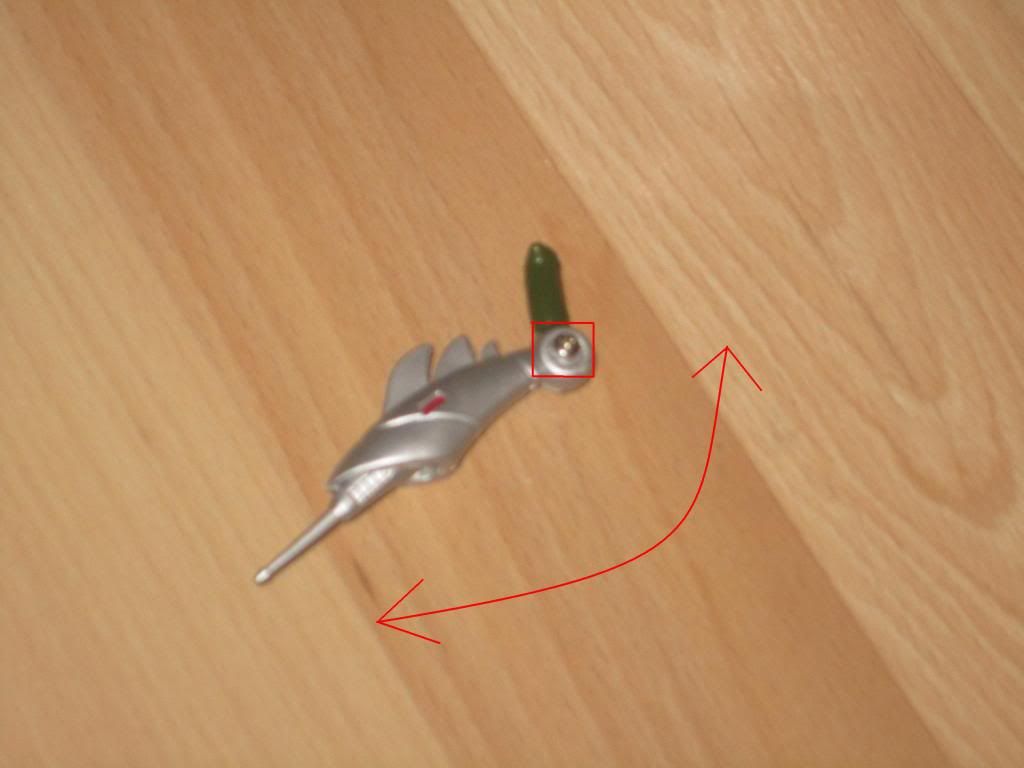
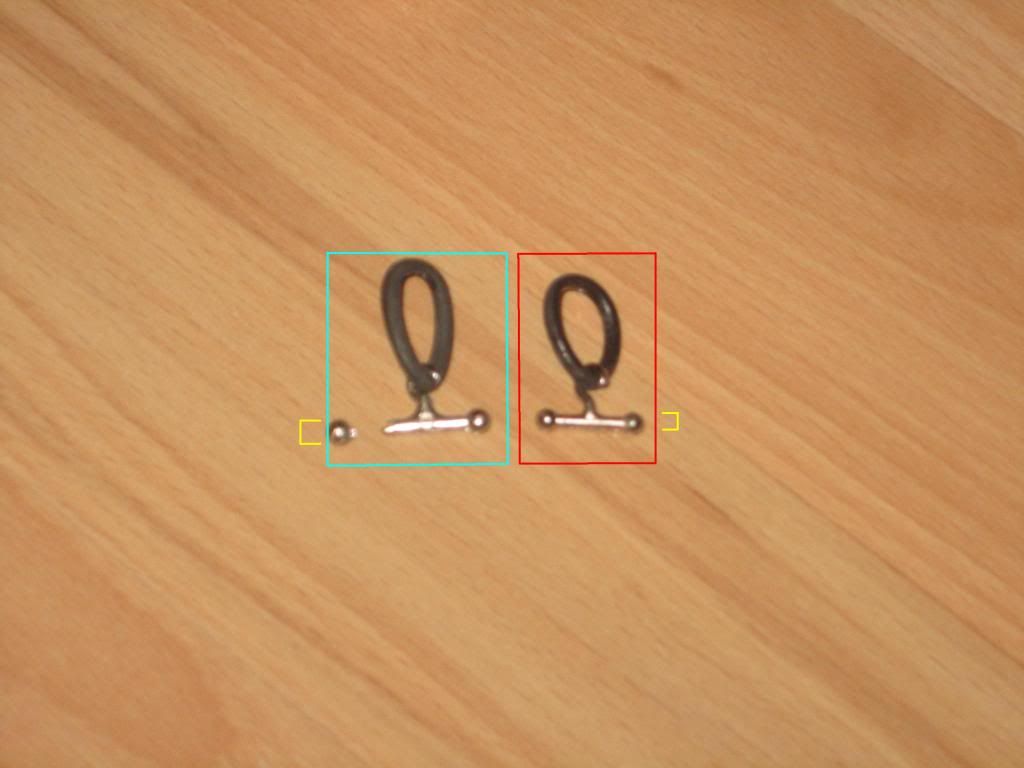
notice in the pic,the ball end on the steel crotch/hook literally snapped off,leaving the ball inside the upper thigh.

first off,find a vintage gijoe figure you don't care for.(i have 4 of these,now 3)


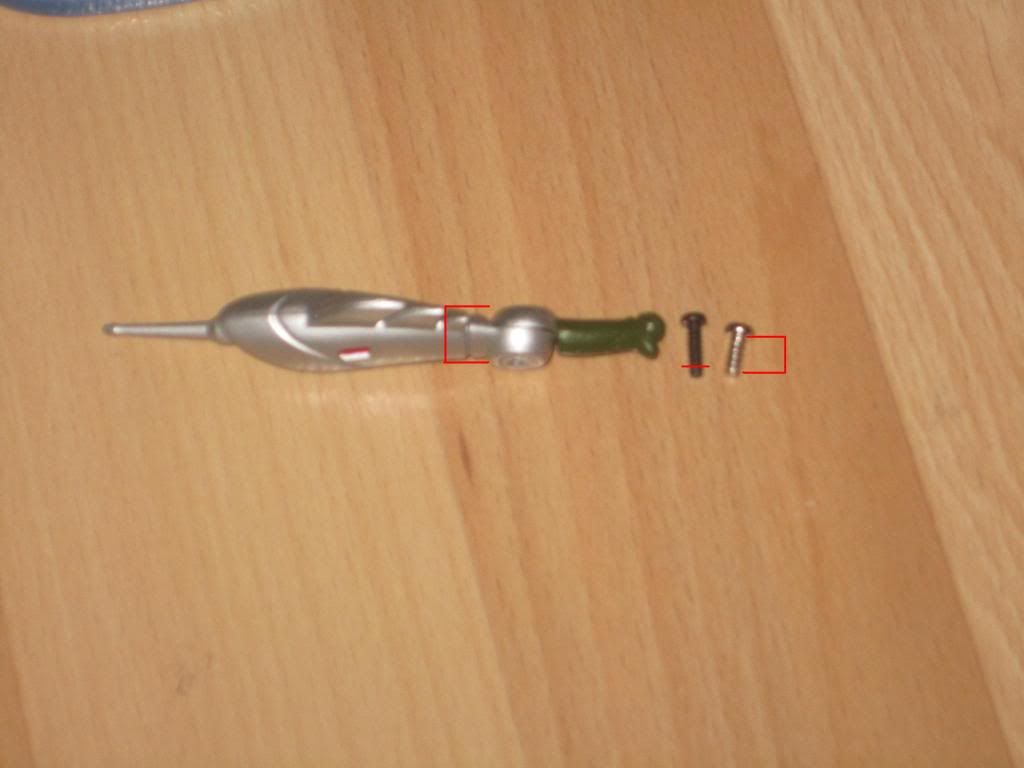
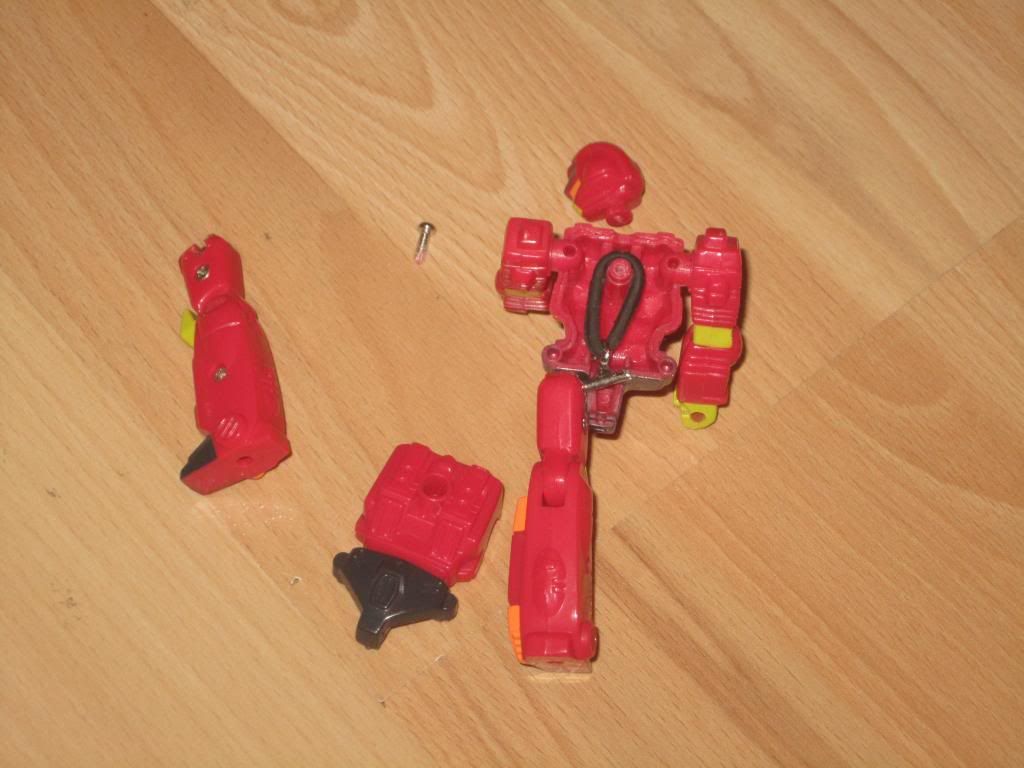
to dissassemble,remove the main screw in both of their backs.this should enable you to easily split the upper torsos into two halves.
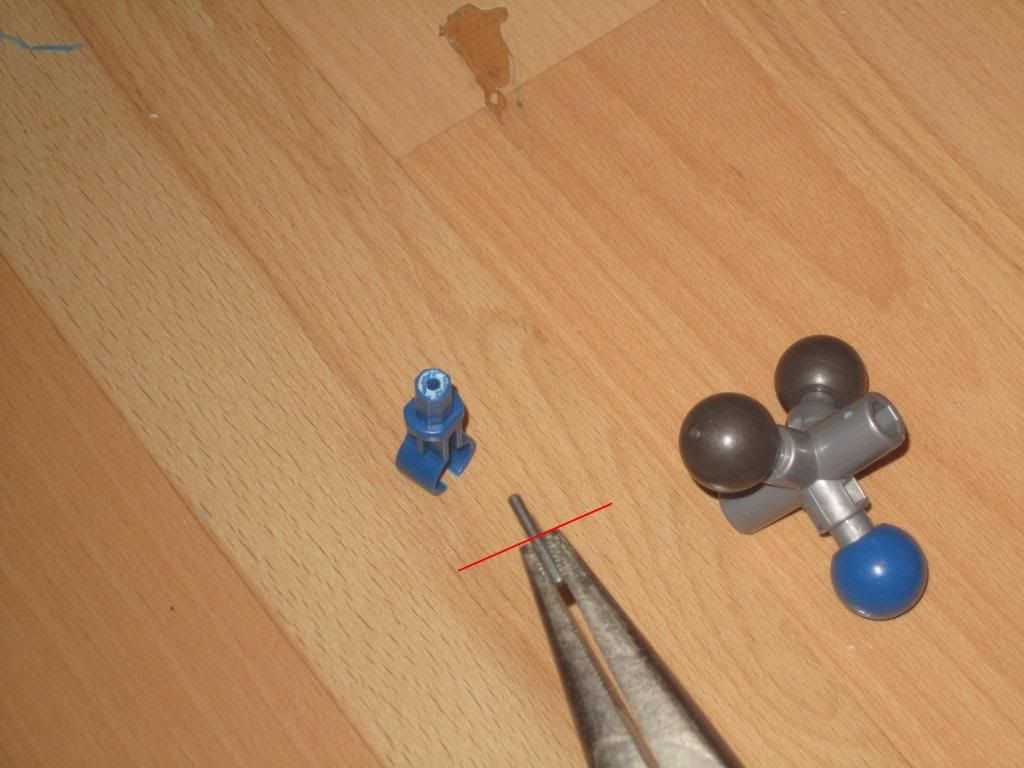
repeat the screw removal on the inner legs.this will free up the steel crotch hook.


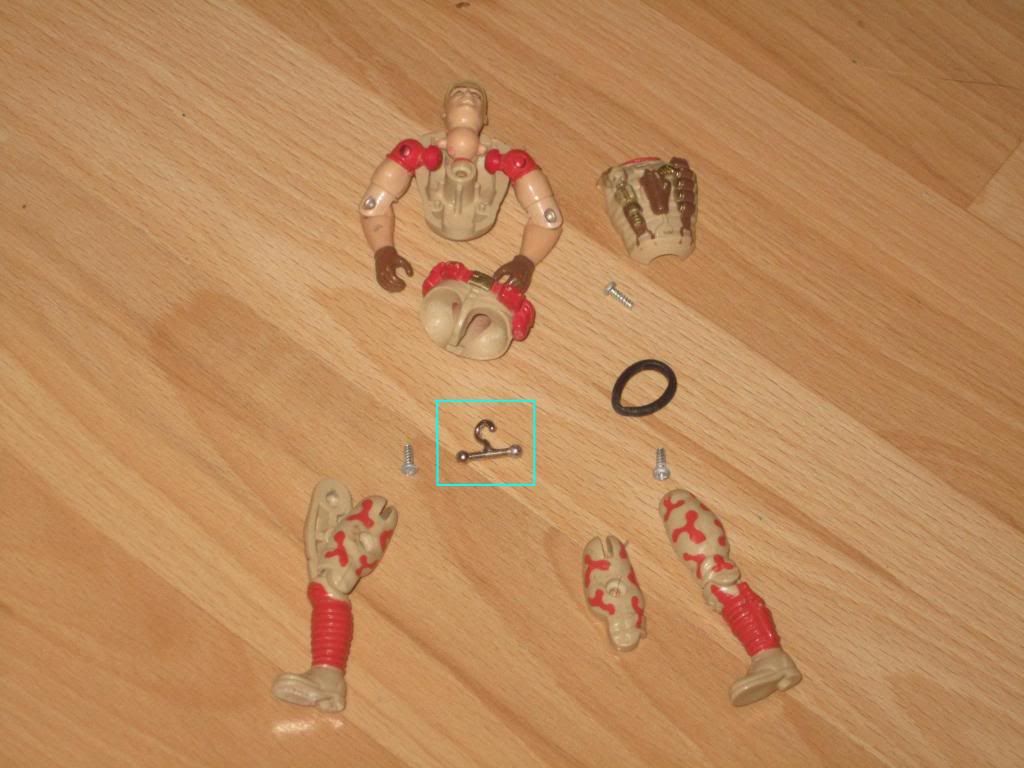
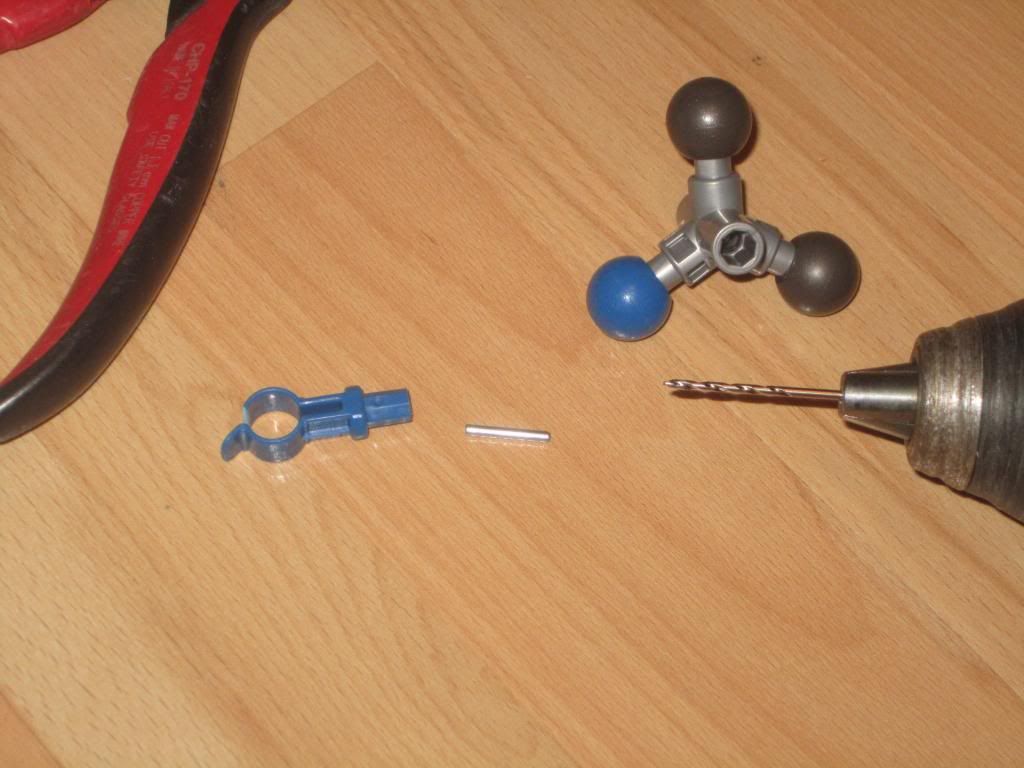
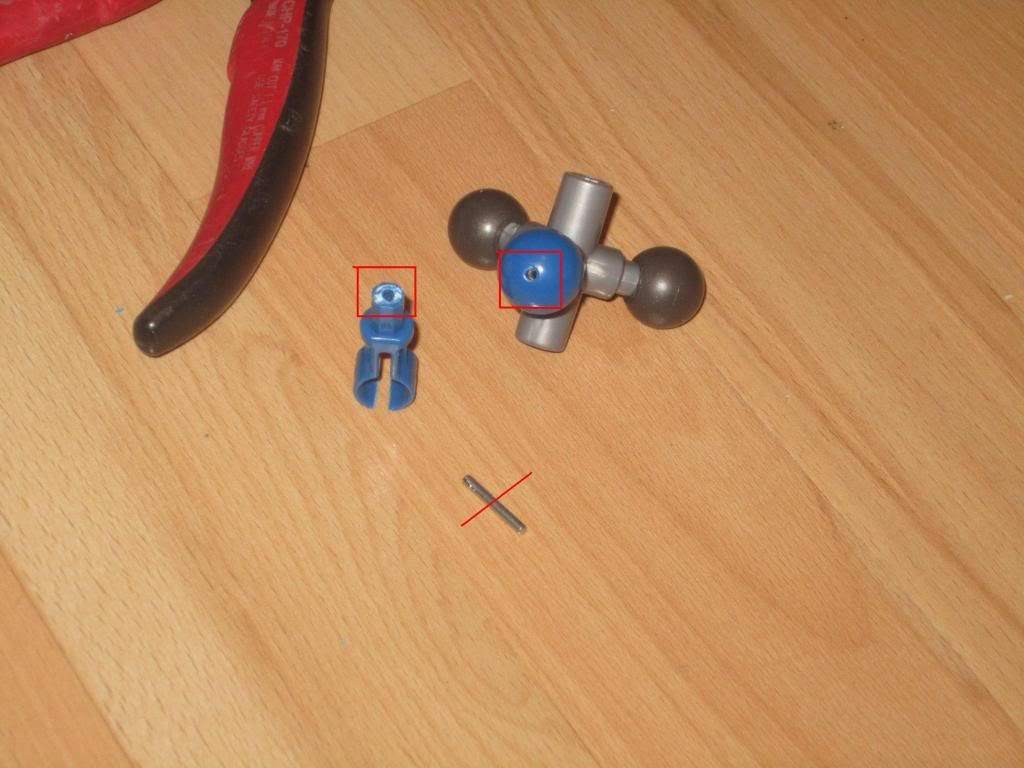
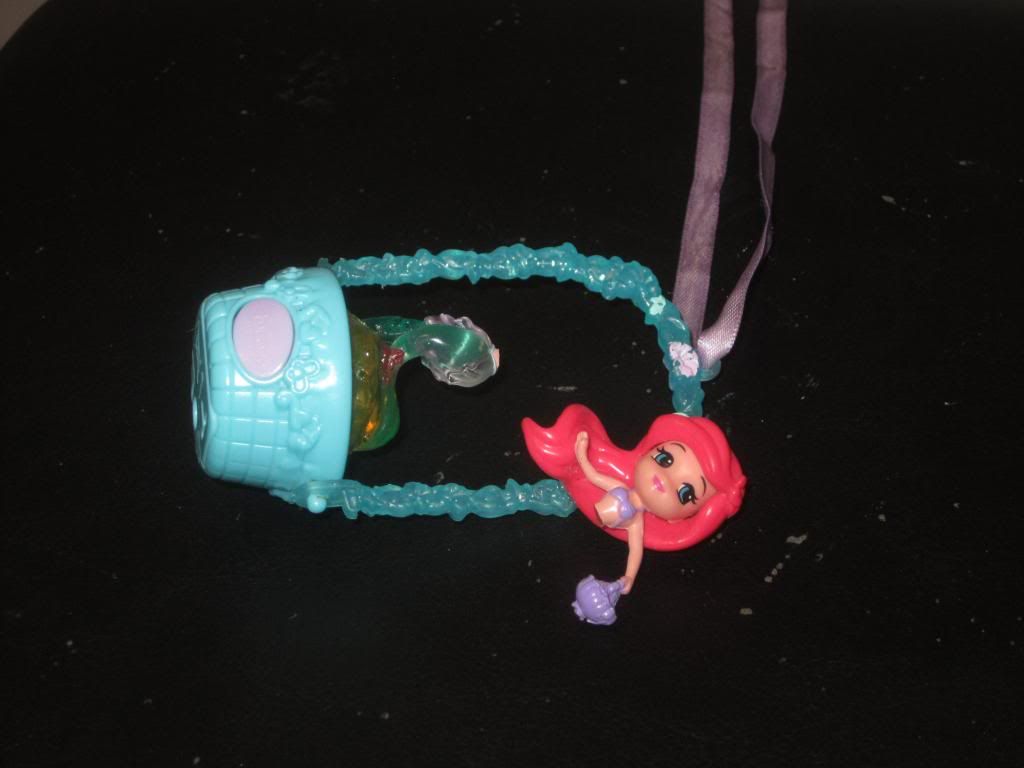
placing the steel hooks/t-bars side by side,you'll notice that the gijoe one is coupled with a smaller rubber o-ring and the balls on the hook themselves are ever so slightly smaller in their overall diameter.
(overrun's mangled one on the left,the joes on the right.)


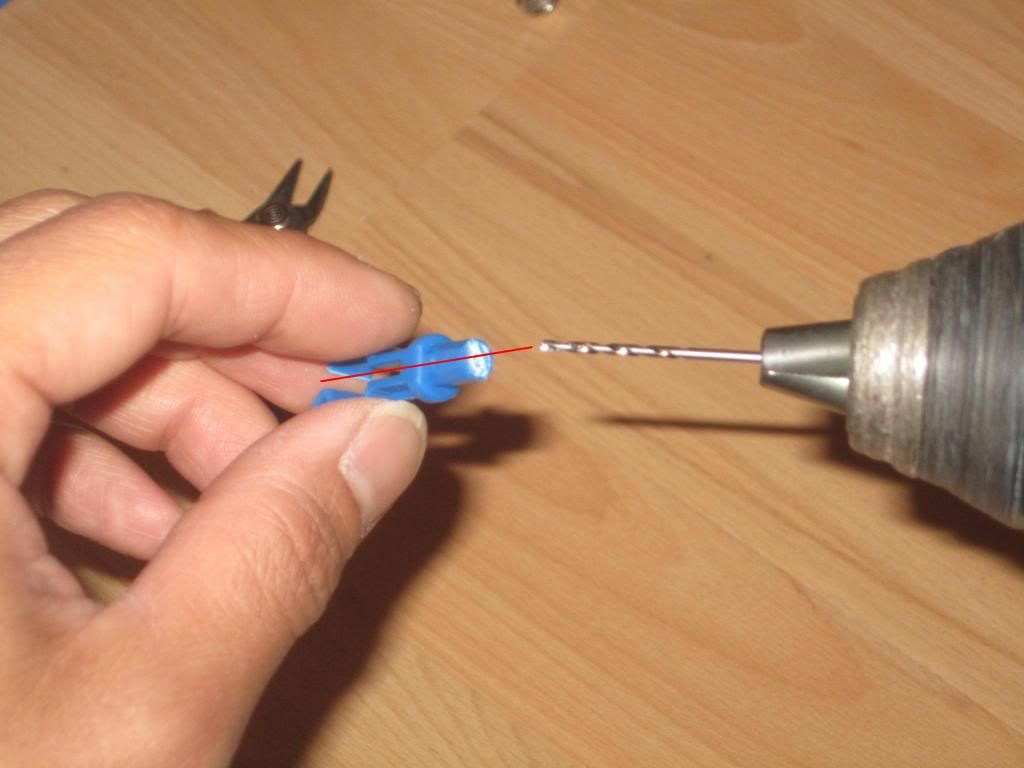
to rectify the smaller ball size on the good crotch/t-bar,this is where you can use either electric tape,plumbers teflon tape or vinyl.
don't use masking tape or scotch tape or else the minute he ever gets wet again,these two tapes will melt and leave you with a sticky gooey loose mess.
i chose red vinyl because it's water proof and somewhat matches overruns red base color.(plus,i still have lots left from this years customizing class)
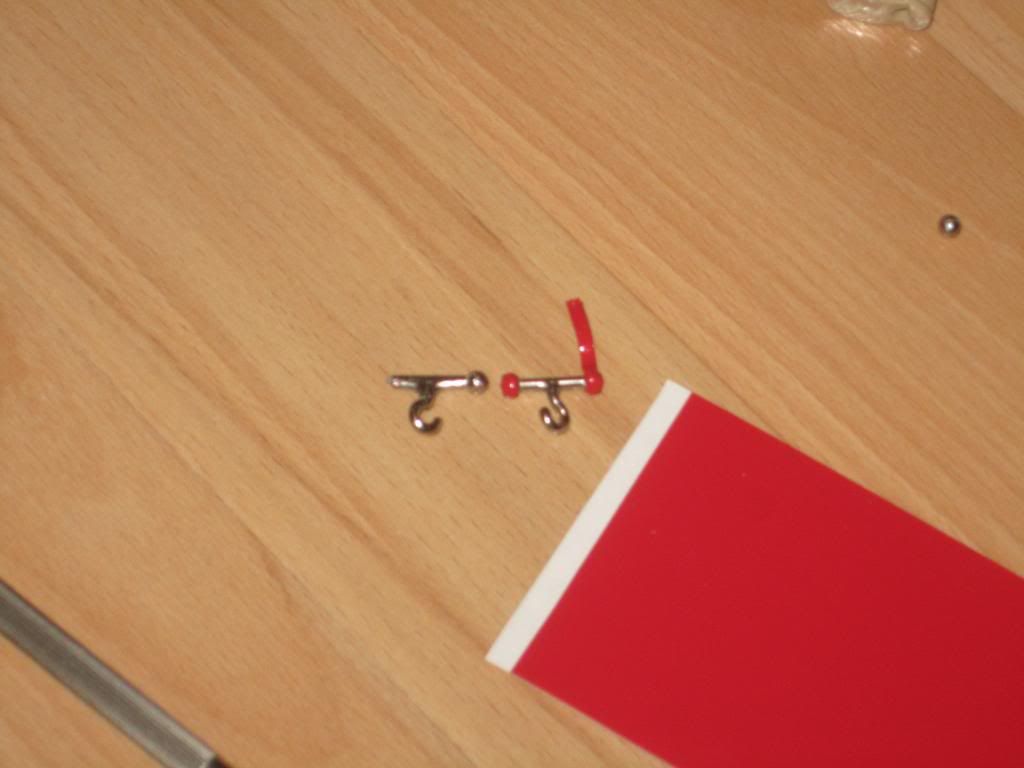
cut your tape/vinyl into 1/8" wide strips about 3 inches long and wrap the balls on the replacement crotch bar taken from the joe,keeping in mind to make it as tight as possible and staying only on the balls.(i know...giggity)
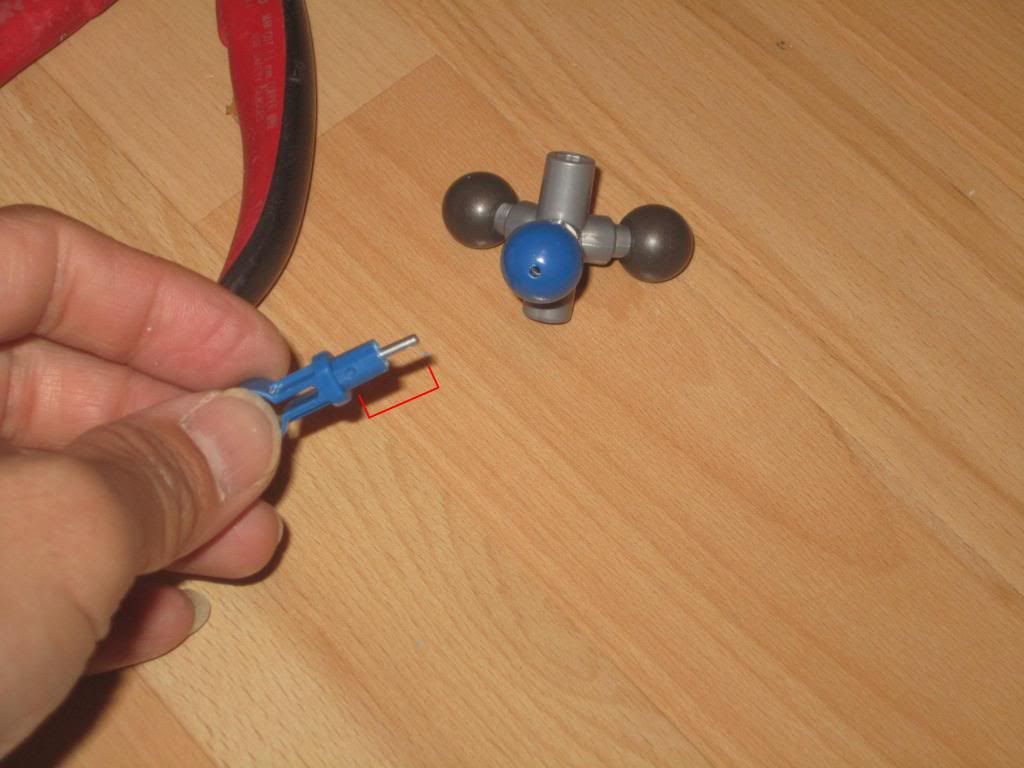
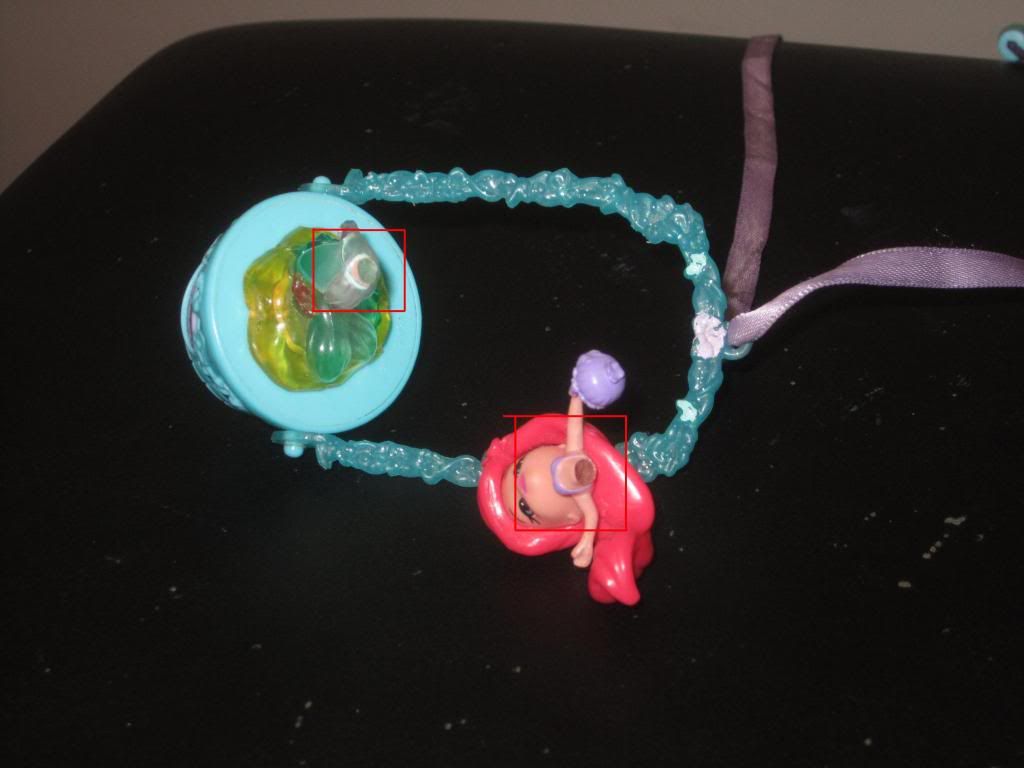
this will build them up to the same diameter as the broken one that originally came out from the actionmaster.
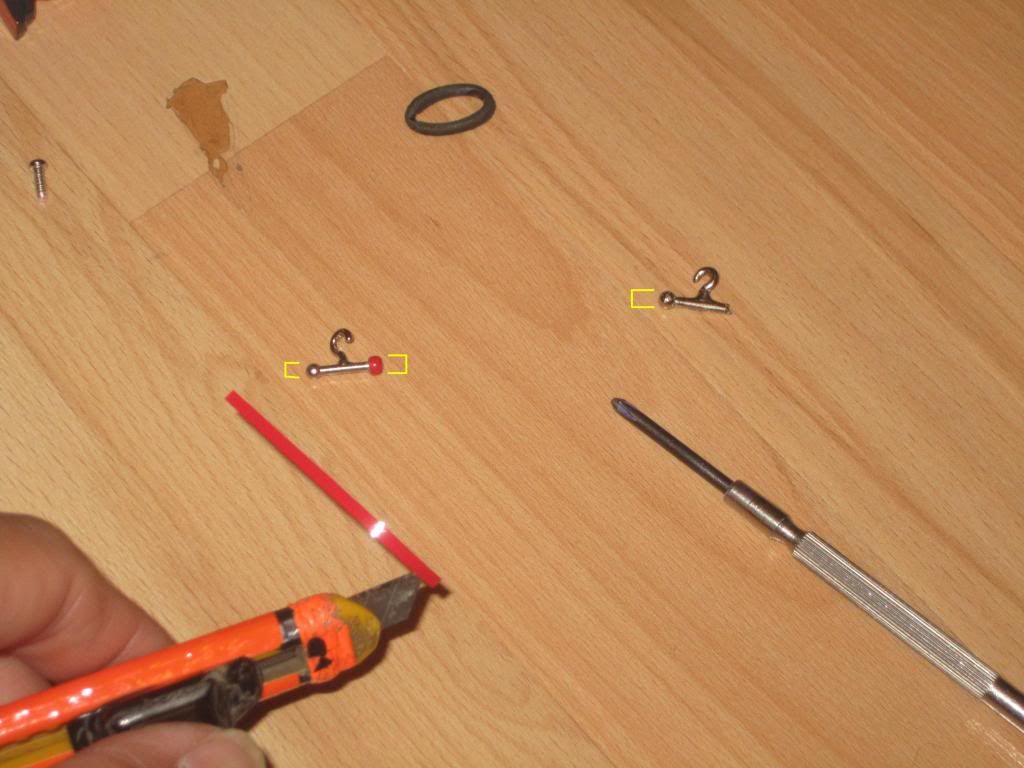
the yellow shows the difference before and after in the ball diameters.


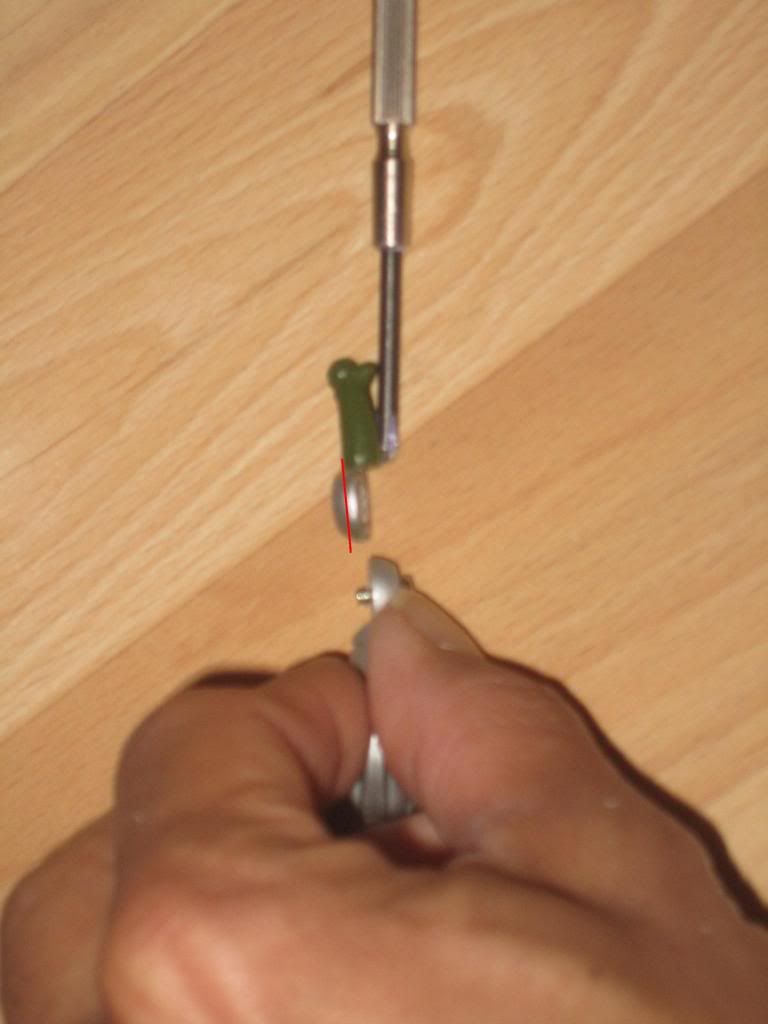
once done,transfer over the stock bigger rubber o-ring from the broken steel crotch hook to the refurbished one from the gijoe.this ring is bigger for a reason as the distance is slightly longer from crotch to mount post in the tf as opposed to the joes.you can try to use the rubber ring from the joe.it does work but it puts waaay too much tension on the rubber ring itself.keep in mind some of these parts you're salvaging/reusing are 25-30 years old.

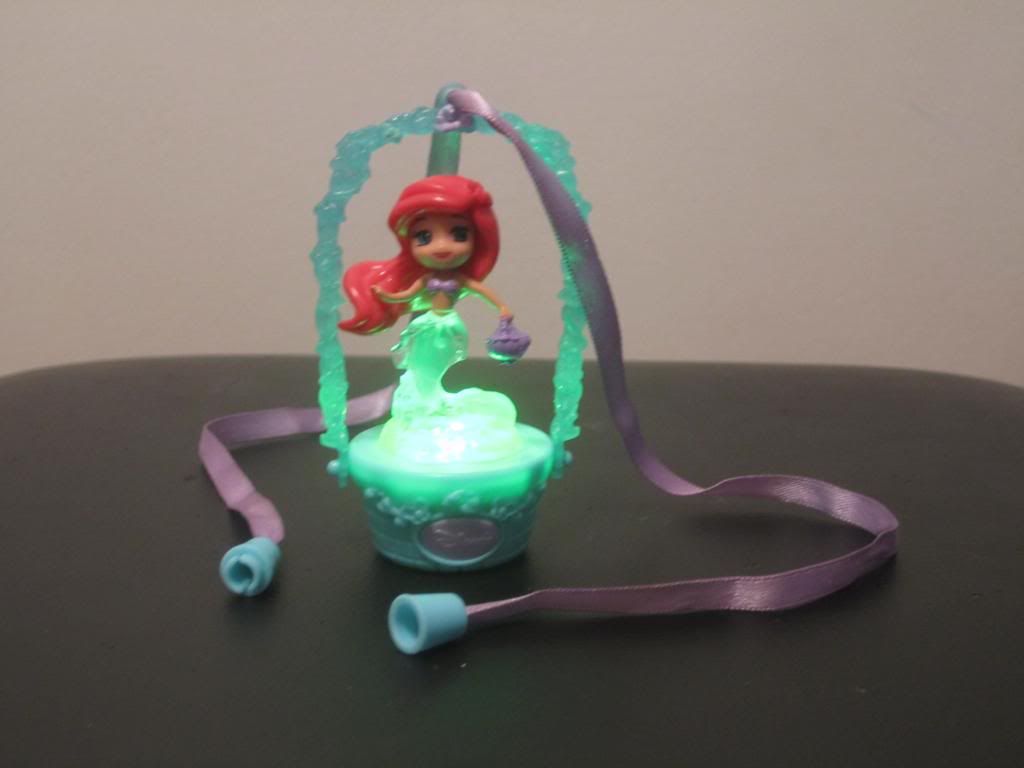
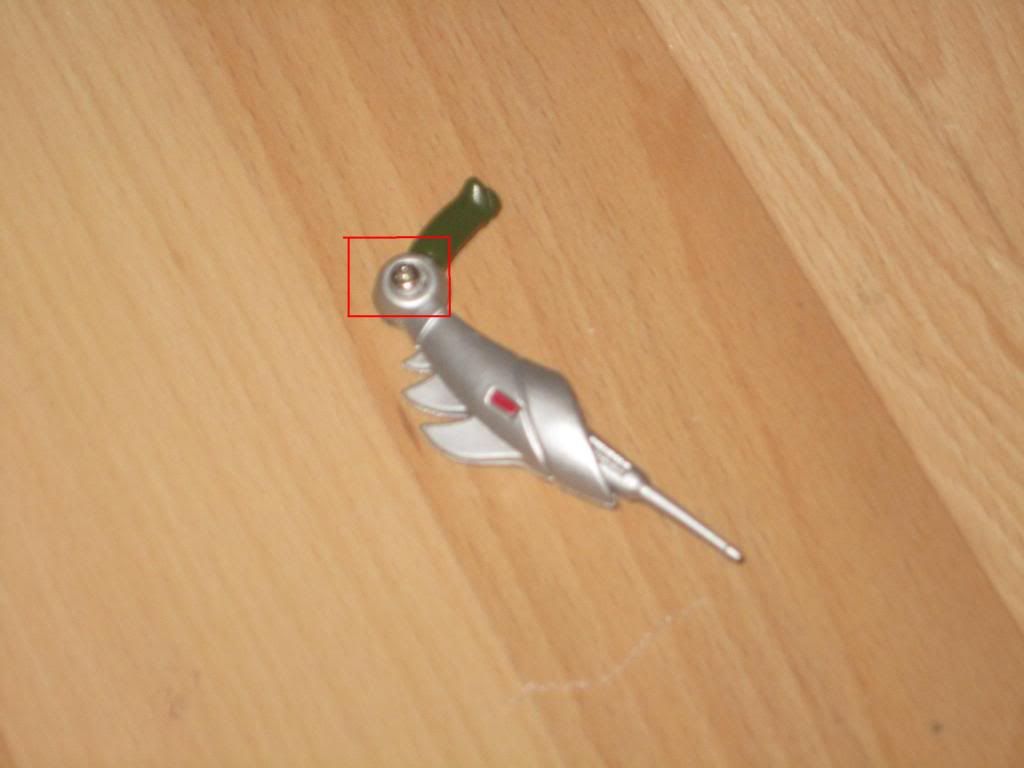
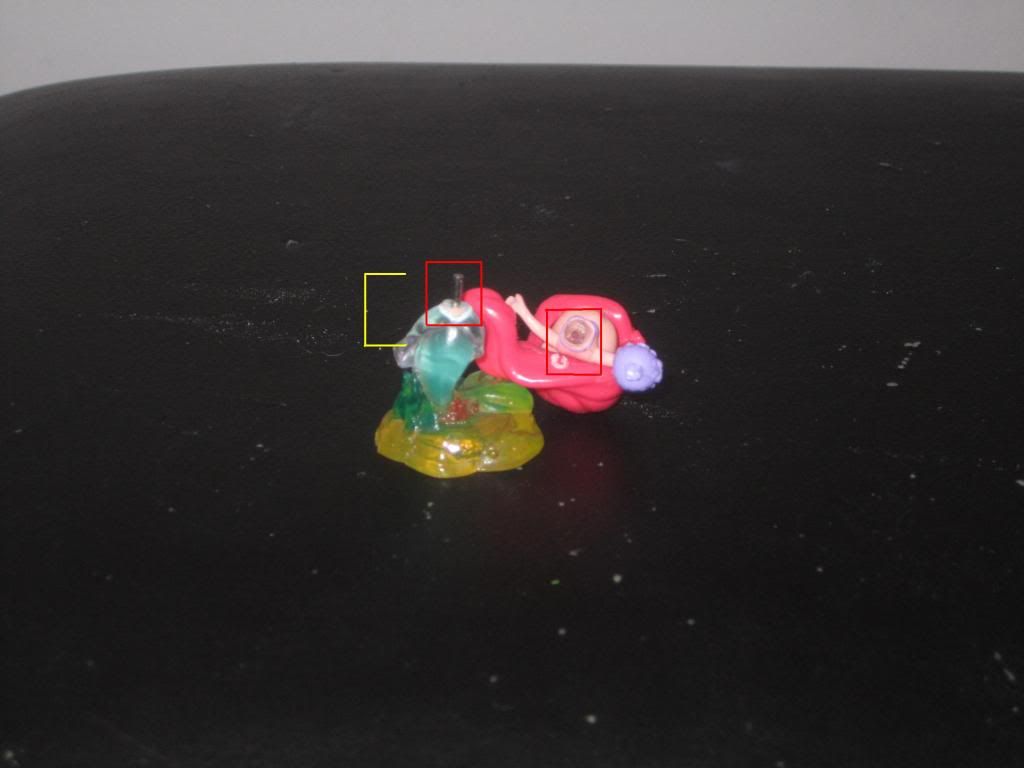
reassemble everything the same way you took the actionmaster apart,shove the gijoe parts into a ziplock for future use and sit back and enjoy your fixed bot

"alas....he gave his life for a good cause"...
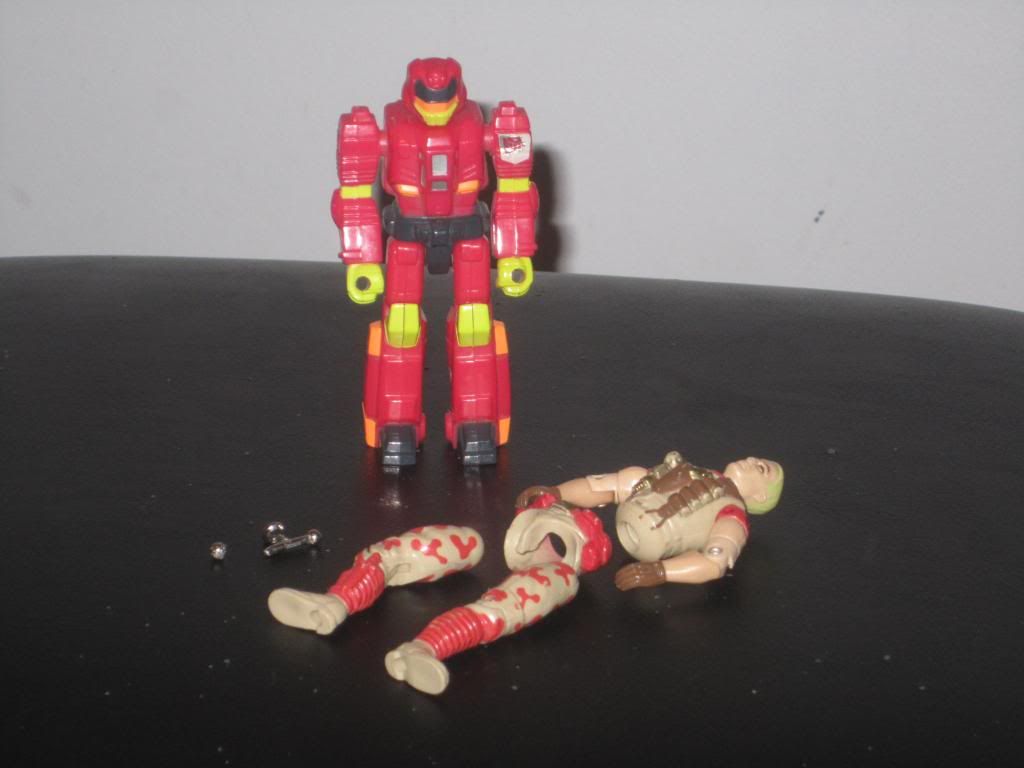
__________________
now open for commissions...big and small...minor and heavy,you dream it,i make it.
chans formers is offline   Reply With Quote
Old 08-06-2013, 05:31 PM   #6
plowking
wanna be Canadian
plowking's Avatar
Join Date: Nov 2007
Location: Michigan
Posts: 643
Re: simple fixes and reinforcements

awesome stuff O. Its like the Customizing Class at TFCon again!!....even CJ is here!!

__________________


WAIT!...issa wobot anna twuck?!
plowking is offline   Reply With Quote
Old 08-11-2013, 01:44 PM   #7
Bruticus82
Fortress Maximus
Bruticus82's Avatar
Join Date: Jul 2008
Location: The Hammer (Hamilton)
Posts: 5,572
Re: simple fixes and reinforcements

Fantastic!
__________________
Checkout My Sales Thread for:

1. Combiner Wars Devastator
2. 25th Anniversary Unicron (MISB)
3. DOTM Takara Vortex (MOSC)
+ and more!


Looking to buy:
1. G1 Pretender Groundbreaker

My Feedback Thread

Avatar Image by the talented Ninjatron!
Bruticus82 is offline   Reply With Quote
Old 08-11-2013, 03:51 PM   #8
Robimus
Iacon North Scout
Robimus's Avatar
Join Date: May 2007
Location: Winnipeg
Posts: 8,333
Re: simple fixes and reinforcements

Yes, those old rubber rings in the Action Masters can suck
__________________


Visit the official TFcon Toronto website for all the details!
Robimus is offline   Reply With Quote
Old 08-11-2013, 05:36 PM   #9
Leozak
Robots in the skies!
Leozak's Ebay Auctions
Leozak's Avatar
Join Date: Apr 2007
Location: Winnipeg, MB
Posts: 841
Re: simple fixes and reinforcements

could nail polish work just as well as the tape? just curious
Leozak is offline   Reply With Quote
Old 08-11-2013, 08:20 PM   #10
Echotransformer
Loves all things G1-ish..
Echotransformer's Avatar
Join Date: Apr 2007
Location: Ottawa
Posts: 3,119
Re: simple fixes and reinforcements

Citizen Chans!

I learned some cool stuff reading this, thanks for giving those possible lost causes a new lease on life!!! Indeed there are some vintage toys in great condition simply because they broke early in their service...
Echotransformer is offline   Reply With Quote
Reply


Posting Rules
You may not post new threads
You may not post replies
You may not post attachments
You may not edit your posts

BB code is On
Smilies are On
[IMG] code is On
HTML code is Off

Forum Jump

Transformers Shopping


Donate to Cybertron.ca
Donations keep this site running, thanks for your support. More details here.

Powered by vBadvanced CMPS v3.2.3

All times are GMT -4. The time now is 11:22 AM.


Powered by vBulletin® Copyright ©2000 - 2024, Jelsoft Enterprises Ltd.